Baking and blogging are both amazing when done right — and disastrous when they get botched. But in both cases, if you follow the right recipe, success is guaranteed.
vnysia/flickr
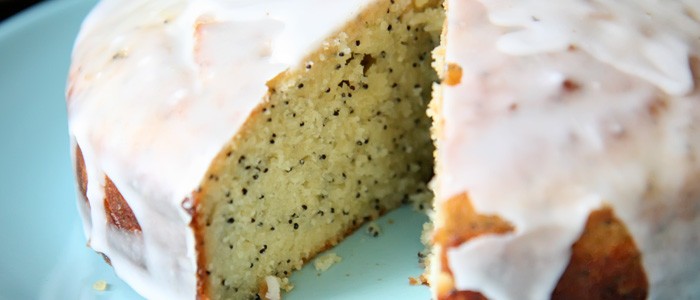
Step One: Assemble Your Ingredients
headline or title
Following your amazing headline with a great lede leaves readers hungry for the rest of your article. This brief overview of your topic gives readers a taste of what you’ve prepared.
Next comes the body of your post, where you frame the question or problem relevant to your audience, and continue to explain its intricacies or how to solve it. Slicing up articles into smaller chunks with subheadings lets your reader see at a glance what they can expect as they travel down the page, making it more likely they will stick with you to the end.
Finish your post with a call to action or conclusion. This will depend on the overall function of your blog and what your product is; this could be where you link your product to your solution, or pose a question to prompt discussion in the comments.
To continue the cake metaphor, the length of a post depends on the type of taste you’re catering to. Working out how much to make is a simple matter of figuring how many people want cake and multiplying by their appetites, but the ideal length of a given blog post is a more controversial subject.
Buffer Social’s in-depth research into ideal lengths of online content suggests 1,600 words, or about a 7 minute read. Neil Patel at QuickSprout stresses a variety of lengths can work, but generally agrees that longer posts of 1,500 words or so tend to perform best in terms of SEO and shares.
However, Joe Bunting at The Write Practice suggests different lengths depending on purpose — and interestingly, not in terms of topic, but in terms of traffic goals. For example, he’s a proponent of posts as short as 250 words to maximize social media shareability. That said, all three caution against making a post artificially short or long: let your content guide you.
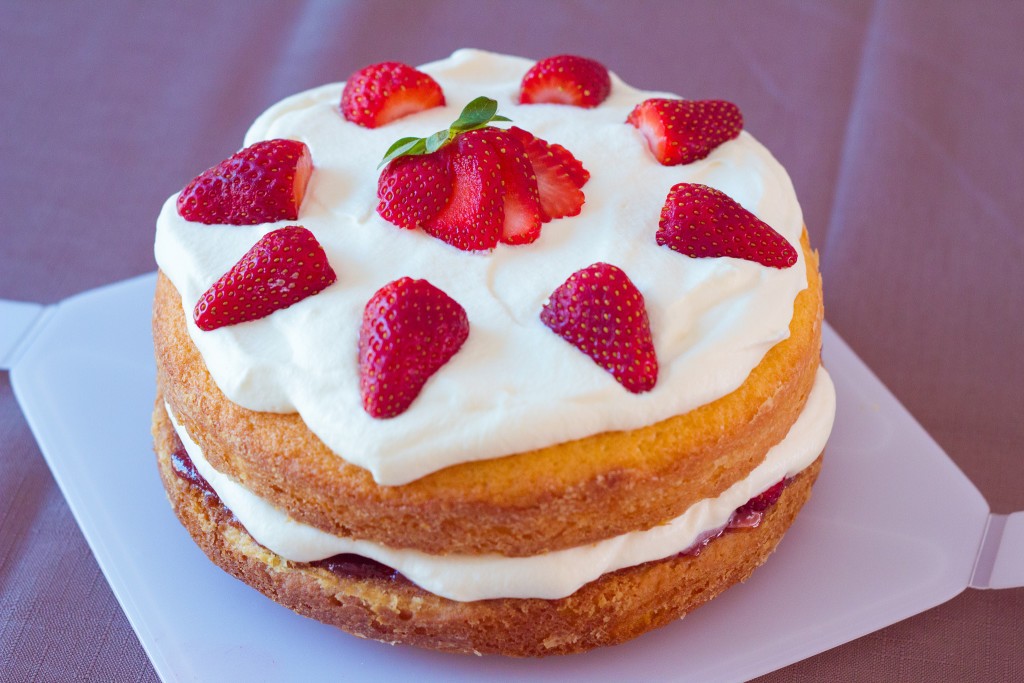
Step Two: Let It Bake
Kelly Hunter/flickr
So you’ve mixed up your batter (or first draft) — now it’s time to get it in the oven. Just as taking your cake out too early will leave you with an underwhelming, soggy mess, not spending long enough editing, rereading, and polishing your work will leave you with a sloppy, error-filled blog post that nobody wants to read. Take time to make sure your post has a logical flow and is free of typos and grammatical errors.
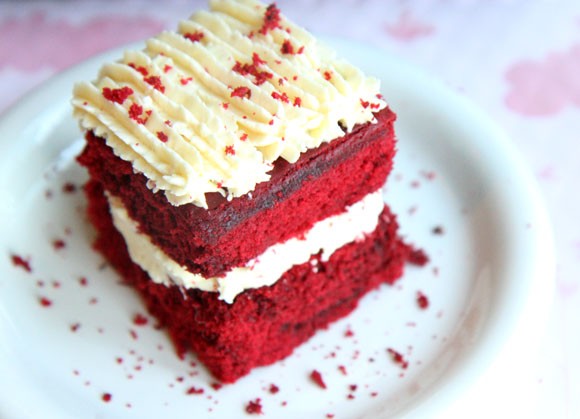
Step Three: Think About Presentation
vnysia/flickr
Jeff Bullas
Images grab the eye and make the reader want to find out more about the story they illustrate. Use your own images, or use any of the thousands of creative commons images available for the taking online — just be sure to credit the photogs appropriately. Jennette Fulda has some great advice on finding free images to brighten up your blog.
By using this recipe and adding some secret ingredients of your own, you’ll be turning out delicious blog posts by the pound that will make your readers hungry for more.
By Adrienne Todd from Longneck & Thunderfoot
27 Jan 2016
Original post click here
Comments
Your email address will not be published.
We welcome relevant, respectful comments.